Showing posts with label compost. Show all posts

Wednesday, March 30, 2011

Worm Update


The worm composting had been going really well. They were eating my food scraps regularly, they didn't smell, and I was looking forward to having wonderfully rich compost for my plants in a month or two.

And then things went horribly wrong. First it was some small little white things in the bin. See them in the bottom corner there? Still not sure what they were/are.

Then the worms weren't eating quite as much as they used to.

Then it started to smell. Bad. Really bad. I babysit a lot and I've changed more than my fair share of nasty diapers. This was worse. Gagging was an involuntary response if you opened the bin even a tiny little bit.
I got on vermicomposters.com and got some advice. Apparently I was overfeeding and not putting in enough bedding for the worms to get away from the rotting food.

Someone recommended that I take out half of the rotting food and put it in my outdoor compost bin - since my landlord lets us have one. Then go out and purchase some peat moss - since I have lots of extra money. Then he said I should collect some dry, dead leaves, crumble them and layer it in - since dry leaves are so abundant in March and in my giant yard.

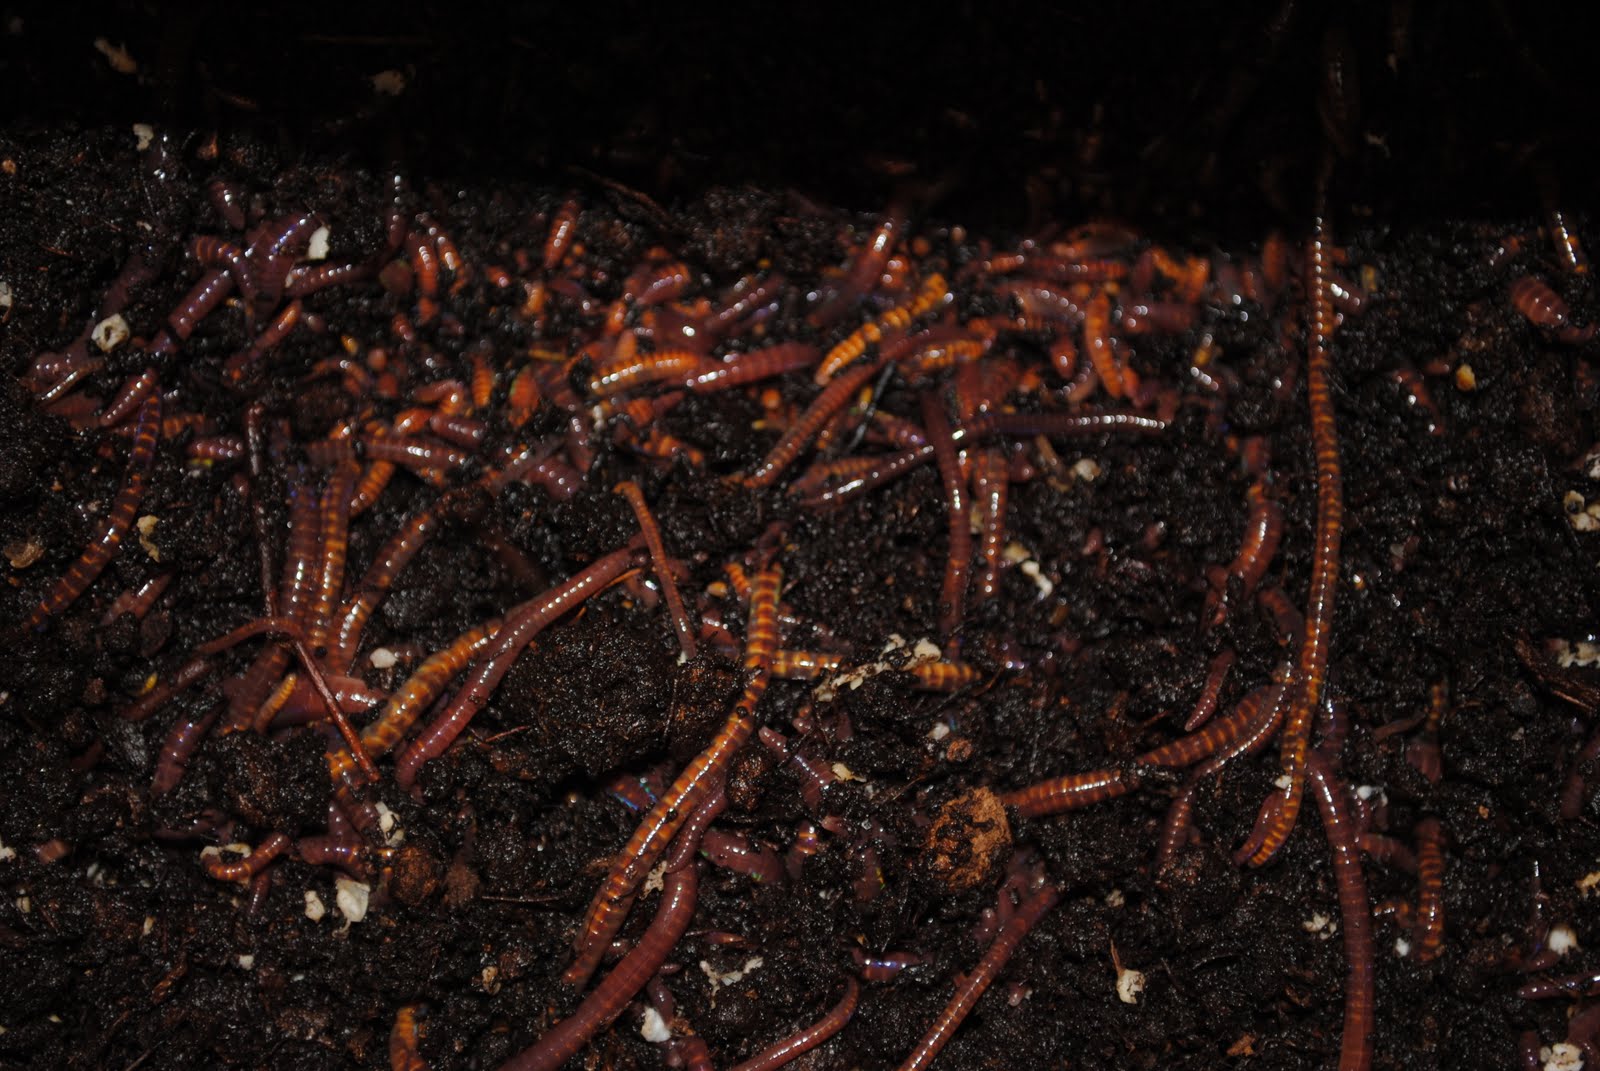
I shredded some more newspaper at work and overloaded the worm bin with it. The photo below is actually before I added the paper. Imagine the bin with about 150% more paper shreds in it.

A few days later they seem to be happier. The smell isn't 100% gone, but it's back in the house and doesn't smell if the lid is on. And the paper is slowly being moistened from the bottom and the worms are escaping into it.

Wednesday, February 16, 2011

So the worms...


You may remember that last week we got our next shipment of worms. The ones that are supposed to eat a pound of food a day - give or take. So we put some food in. Not tons, but some and hoped they'd go to town. We did our best to leave them alone for an entire week, but we didn't do too well.

We checked and they seemed really sluggish and the bin seemed really cold. We do keep our apartment close to 60 degrees (hey, gas is expensive - putting on another sweater is not) so we moved them a bit closer to the electric heater we have so they'd warm up just a bit. It definitely seemed to improve them. They were much more active and again, I really tried to leave them alone.

I have a habit of making my expectations unachieveably high and I guess you could say at least I'm consistent? I wasn't really expecting to open the tub and see perfect compost, but I was expecting to see some significant changes. Not so much.

Original food put in on the left and after a week with the worms on the right.


You can tell the worms have done their work, but not quickly. I wonder if it's because we put in full size food and worm mouths are really tiny. We've been saving food scraps all week and happened to have the food processor out from a recipe earlier in the evening so Jared suggested just putting it all in the food processor and making a smoothie for the worms.

I think it was a good idea and I think they'll like it, but trust me you're glad I didn't take a photo of it. I babysit enough that not a lot grosses me out anymore, but J's gag reflect was working overtime. What's tasty for worms is definitely not good-looking for humans.

I'll let you know how the worms do from here on out...

Sunday, February 6, 2011

Worms: Take 2

So the first worms are still alive, but I wanted the better worms. The red wigglers that would eat a pound of food a day and reproduce by the dozen. That would create boatloads of fresh, perfect castings that would make my garden this summer the best on the block. Not that there's a ton of competition on my Boston block, but I'm still competitive.


So this time I did my research. I found a website that provided lots of good information not just about the worms, but about how to vermicompost, how to care for the worms, how to use it - pretty much everything. The reviews were good, I checked several times to make sure they were the right kind of worm and then I placed the order.

The great thing about the internet is that you can buy pretty much anything. The terrible thing about the internet is that then you have to wait to get what you ordered. I'm not very patient. Somehow I muddled through the week and a half it too for them to arrive and I was definitely not disappointed. So many worms! So lively and red! So ready to eat food scraps! YAY!

They were well-packaged with shredded newspaper and a special sack to keep them safe in their journey from Kentucky. I added the newspaper to my worm bin and then opened the sack to see my new friends. I honestly couldn't believe how many there were! I more than got my money's worth this time. And they're the right kind of worm - ready to take my food scraps by storm and start pooing out some plant boosting compost.

It worked out well that J and I were making chili for dinner. We do a vegetarian chili with lots of good veggies. So while I was cutting it all up, I saved the scraps to give to the worms. They already seem acclimated to their new home and are busy at work composting.

I probably won't add any more food scraps this week. I'll take a look Thursday or Friday and take a photo to let you see how they've done. Go worms go!!

Saturday, February 5, 2011

Worms - Take One

I did so much research on vermicomposting. The type of bin, the type of bedding, the type of food scraps to put in it. And then I just bought worms on a whim, without thinking. Not my brightest move. But the worms arrived (they were the wrong kind for best vermicomposting results) with instructions on what to feed them (everything I had read over and over NOT to put in a vermicomposting bing) and what to put in as their bedding (very expensive, greenhouse grade peat and pre-composted leaves). Well... this was throwing a wrench into my plans!

Hoping they'd survive with the plans I'd read over and over and over again online, I went ahead with my well-researched plan and crossed my fingers.

The first step is creating bedding for the worms. Which, for those without a huge budget and access to greenhouse grade planting material, is shredded newspaper. One sitcom later, I'd shredded most of the free newspaper I could find.

But worms are 90% water, so they need something nice and moist. So I took out everything I'd shredded and wet it, being sure to wring it out well so it was like a damp sponge. Remember, we don't really want anything coming out of our insurance holes on the bottom of the composting bin. Once there were a few inches of damp shredded newspaper I put in the worms. They hate light, so immediately began trying to burrow into the bedding.

I wished them luck, put some saved egg shells, banana peels, coffee grounds and lettuce, on top of the worms, then covered it with more dry shredded newspaper. That serves as some insulation because worms like warmth.

So hopefully my poor decision-making in ordering worms from a not so great place, won't hurt too much. I've already placed another order with a well-respected company and will get better worms next week. I'm hoping they all get along like a big happy family.

Thursday, February 3, 2011

Vermi-what-now?

So the seeds were ordered. Now we had to play the waiting game. And it was going to be a long once since the seeds were coming from California and I'm a cheapskate who didn't spring for expedited shipping. Looking for things to pass the time, I re-read Grow Great Grub, I looked at the library for more books on container gardening, I browsed the seed catalog with eyes bigger than my patio. And then I saw something new.

Soil is expensive. And the only thing more expensive is fertilizer. Or at least, good, organic fertilizer is expensive. The best kind of fertilizer is compost. Compost is the broken down, decomposed bits or organic (read plant not man-made stuff) material. All the nutrients in that material are broken down and are more easily accessible.

Typically compost is created by putting plant and food scraps in a pile and then turning it and letting it slowly decompose. As you might imagine, this takes a LOT of time and if you don't have an open space in your yard, a LOT of money to buy a container. It's also pretty smelly. None of these fit into my apartment lifestyle.

But I still wanted to make my own compost. How can I do that living in an apartment? Enter vermicomposting. Worms. That's right, let worms do all the work so you don't have to. Worms are essentially a few inches of digestive tract. All the do is eat and poo. And that worm poo (called castings because apparently 'worm poo' doesn't sound that great) is some of the best stuff around. High in nitrogen and other great nutrients, it can make so-so plants turn into monsters!! And if it's done right it doesn't smell, or so the internet says (and if it's on the internet, it's got to be true, right?).

So I set out to make a vermicomposting bin. This is the worms' home, and where you put the food scraps so the worms have something delicious to eat.

We started with a big rubbermaid crate we had sitting around, leftover from moving.

The reason a good vermicompost bin won't smell is because of air circulation. So that means drilling some holes. Actually, a lot of holes. J didn't seem to mind using a power drill and taking out some anger on the plastic bin.
We drilled fairly large holes in the top to provide lots of air circulation.

You need air all around, so that means more holes. We kept the holes big around the top portion of the bin, but used a much smaller drill bit lower down. You don't want your worms or compost escaping where it's not supposed to of course!

And then about 6 very small holes on the bottom to allow for any excess moisture to get out. Though the goal is to not let the contents of the bin get that wet, but it's always good to have an insurance plan. We bought a foil cookie sheet to put under the bin to catch any unfortunate drippings.

The end result looked something like this:


This is just one plan of course. There's tons available on the internet, from lots of reputable sources. We just used the plan that required things we already had on hand. If you try another plan, please let me know!
And if you'd prefer to see how to make this in video form, check out the video below, which is what we used!